文章目录
- 内网远程桌面
-
- MobaXterm(必备)
- XRDP(推荐)
- 无缝远程
- VNC
- remote from ubuntu18
- xrdp远程桌面连接声音重定向
- 外网远程桌面
-
- AnyDesk(免费)
-
- windows
- ubuntu18
- TeamViewer
内网远程桌面
MobaXterm(必备)
https://mobaxterm.mobatek.net/
推荐使用,牛逼软件
直接使用ssh登录,同时也可以远程桌面
XRDP(推荐)
重要的事情说三遍:
退出远程桌面时请使用logout方式关闭远程桌面
退出远程桌面时请使用logout方式关闭远程桌面
退出远程桌面时请使用logout方式关闭远程桌面
成功案例:
mate
xfce4
#安装系统时安装软件更新+update+upgrade+drivers
Step 1: Login to Ubuntu
Login to your Ubuntu Desktop environment.
Step 2: Open the Terminal
Press CTRL+ALT+T and open the terminal. Alternatively you need to open it from the bottom right application list and search for terminal.
Step 3: Update Ubuntu
Run the following commands:
sudo apt update
#sudo apt dist-upgrade
Step 4: Install XRDP Package
Run the following command:
sudo apt install xrdp #gnome-tweak-tool gnome-shell-extensions
#sudo apt-get install xorgxrdp-hwe-18.04 #早期18.04版本需要
#sudo systemctl enable xrdp
Step 5: Setup the Xsession File for XRDP
Run the following command(二选一):
echo mate-session> ~/.xsession #mate远程桌面配置
echo xfce4-session> ~/.xsession #xfce4远程桌面配置
Step 6: Install Mate-Core Package
Run the following command(二选一):
sudo apt-get install mate-core #mate远程桌面图标
sudo apt-get install mate-desktop-environment mate-notification-daemon
sudo apt-get install xfce4 #xfce4远程桌面图标
#sudo apt-get install xfce4-terminal
Step 7: Allow RDP traffic through UFW Firewall
Run the following command
sudo ufw allow 3389/tcp
#sudo /etc/init.d/xrdp restart
#sudo service xrdp restart #stop/status
#sudo systemctl status xrdp
#sudo systemctl restart xrdp #start xrdp
Step 8: Reboot the Device
Reboot Ubuntu by using the following command:
sudo reboot
Step 9: Test RDP by connecting through RDP
Connect via Remote Desktop on a Windows (Microsoft Remote Desktop Client) or through Remmina on Linux.
You should be able to install XRDP on your computer and have it up and running after the steps outlined.
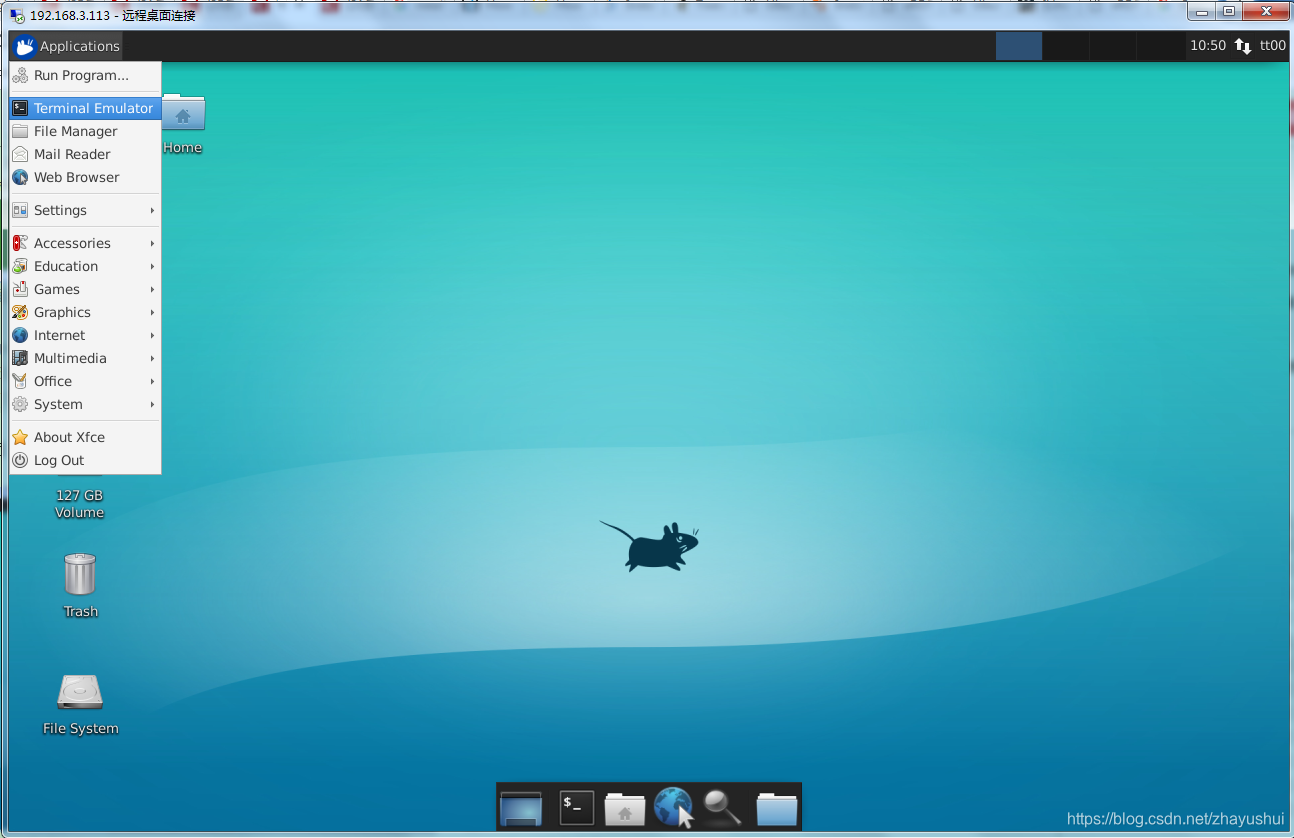
mate远程桌面
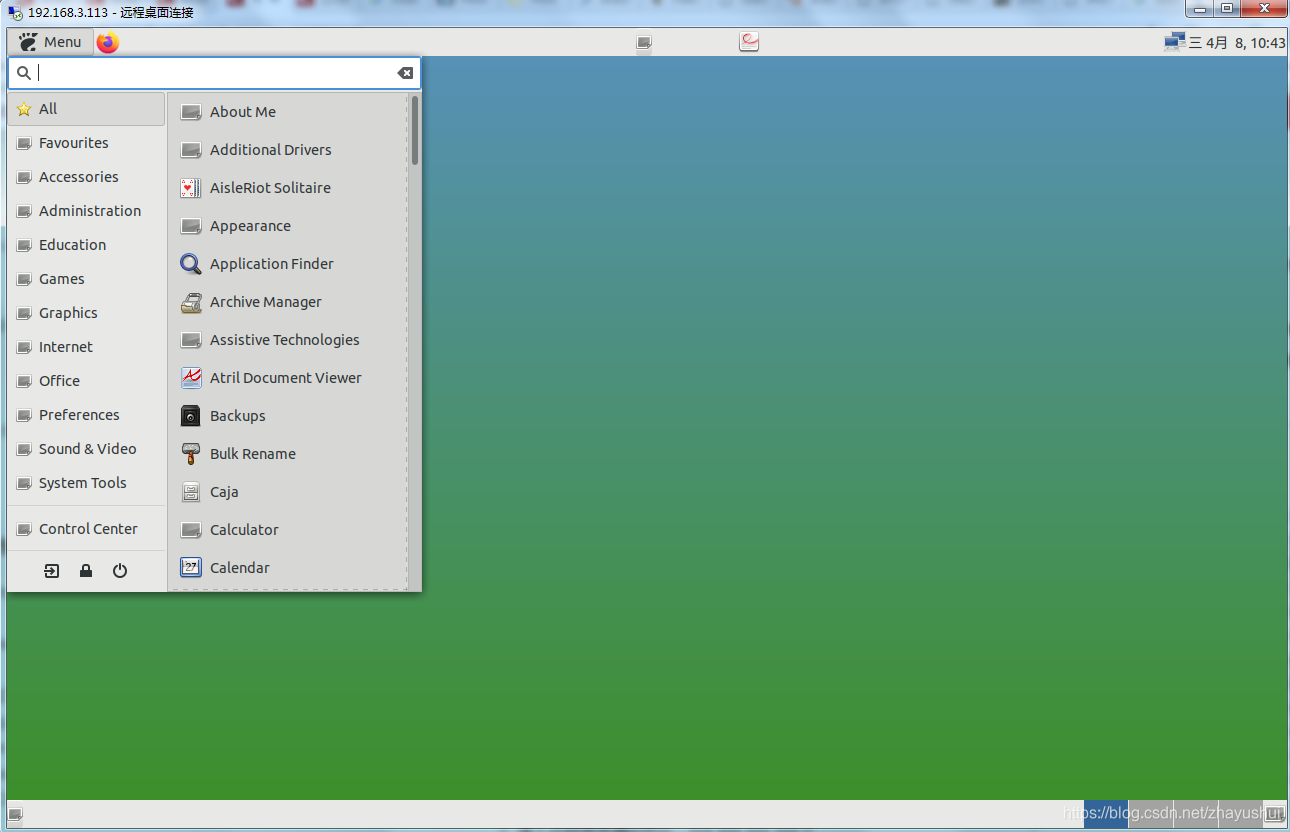
xfce4远程桌面(个人推荐使用此方案:轻桌面,画面流畅)
重新启动ubuntu,不要登录!
在Windows上进行连接
打开windows的远程桌面连接,输入Ubuntu的IP地址,并点击连接。
点击连接之后会进入登录页面,选择Xorg,并填写在Sharing中设置的账户和密码,即可登录。
无缝远程
sudo apt-get install xrdp
sudo apt-get install xorgxrdp-hwe-18.04
sudo systemctl status xrdp #check status
sudo adduser xrdp ssl-cert #we need to add xrdp to the ssl-cert group so that it can access /etc/ssl/private/ssl-cert-snakeoil.key
groups xrdp #check xrdp groups
whereis xrdp.ini #configure xrdp
sudo systemctl enable xrdp
sudo ufw allow 3389/tcp # open up the port 3389
#sudo systemctl restart xrdp #start xrdp
#sudo service xrdp restart #stop/status
sudo systemctl restart xrdp # restart xrdp
sudo apt-get install gnome-tweaks #或者gnome-tweak-tool,两者是同一个应用程序。
# 该软件包使用Ubuntu 18.04重命名为gnome-tweaks,但它继续提供gnome-Tweak-tool作为过渡软件包。
# Run tweak, 必须如下配置,否则远程连接时会出现icon图标不正常现象(文件夹/文件都是blank white模式)
# Appearance -> Themes -> Applications -> Ambiance
# Appearance -> Themes -> Cursor-> DMZ-White
# Appearance -> Themes -> Icons-> Humanity or Humanity-dark
# Extersions-> Ubuntu Dock -> On
# 配置
sudo vim /etc/xrdp/startwm.sh
#!/bin/sh
# xrdp X session start script (c) 2015, 2017 mirabilos
# published under The MirOS Licence
#此位置插入如下内容
#Improved Look n Feel Method
cat <<EOF > ~/.xsessionrc
export GNOME_SHELL_SESSION_MODE=ubuntu
export XDG_CURRENT_DESKTOP=ubuntu:GNOME
export XDG_CONFIG_DIRS=/etc/xdg/xdg-ubuntu:/etc/xdg
EOF
#保存
#或者配置 此方法适用于多种风格的桌面配置时使用
echo gnome-session> ~/.xsession #gnome远程桌面配置
#例如~/.xsession内容可以如下配置
#mate-session #xfce4远程桌面配置
#xfce4-session #mate远程桌面配置
gnome-session #gnome远程桌面配置
# 此配置忽略
#sudo cp /usr/share/xsessions/ubuntu.desktop ~/.xsession
#sudo chown xx:xx ~/.xsession #修改文件权限
#sudo vim /etc/xrdp/startwm.sh
#~/.xsession #添加此内容
sudo reboot
#6.Windows7 运行=>输入mstsc,输入ubuntu ip ,输入用户密码即可登录到ubuntu.
gnome远程桌面

参考:https://blog.csdn.net/zhayushui/article/details/94402844
登录界面反复弹出输入密码窗口解决办法:
参考:https://c-nergy.be/blog/?p=12073
解决问题的文件配置参考:http://c-nergy.be/blog/?p=12043
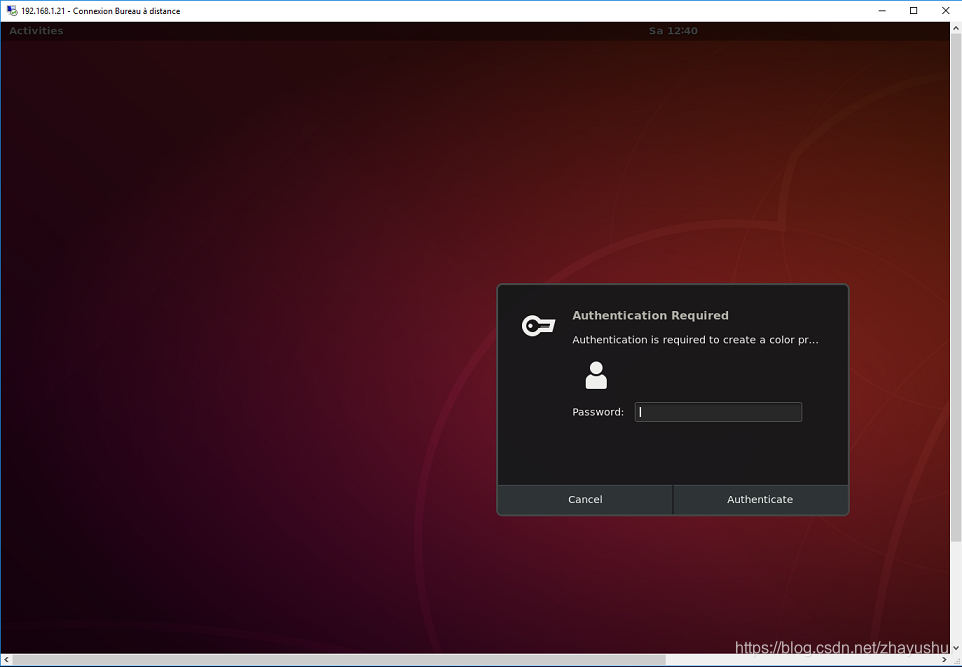
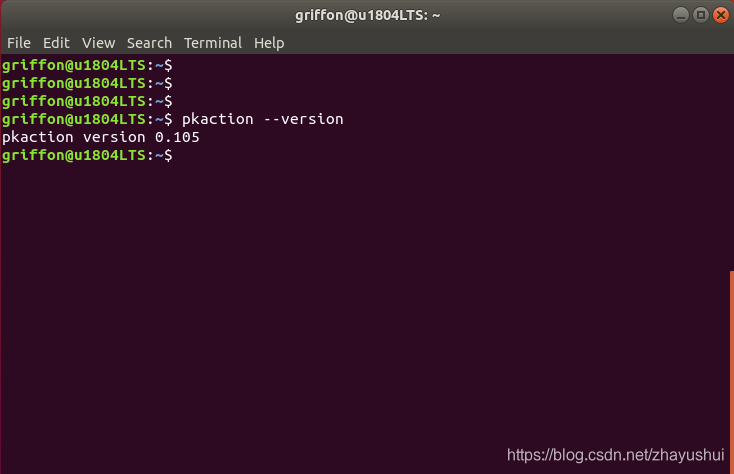
If the version of the PolKit is < 0.106,
[Allow Colord all Users]
Identity=unix-user:*
Action=org.freedesktop.color-manager.create-device;org.freedesktop.color-manager.create-profile;org.freedesktop.color-manager.delete-device;org.freedesktop.color-manager.delete-profile;org.freedesktop.color-manager.modify-device;org.freedesktop.color-manager.modify-profile
ResultAny=no
ResultInactive=no
ResultActive=yes
#Save the file as 45-allow-colord.pkla
#copy to /etc/polkit-1/localauthority/50-local.d/
#sudo rm /var/crash/*
#sudo reboot
运行一段时间后,出现xrdp_mm_process_login_response: login failed
https://my.oschina.net/chaoshu/blog/677139
tweaks shell theme disabled问题
参考
VNC
推荐参考:https://blog.csdn.net/weixin_33804990/article/details/92484727
remote from ubuntu18
https://www.howtogeek.com/429190/how-to-set-up-remote-desktop-on-ubuntu/
主要使用Remminan通过vnc协议进行远程访问
远程服务器配置如下:
Settings->Sharing->Screen Sharin:
- Off —> activate
- Require a Password
- Networks —> On
本地机:打开应用程序Remmina
- 选择VNC
- 填入远程服务器ip地址:xxx.xxx.xxx.xxx:0
xrdp远程桌面连接声音重定向
参考:https://c-nergy.be/blog/?p=12469
pulseaudio --version
sudo apt-get install xrdp-pulseaudio-installer
sudo xrdp-build-pulse-modules
cd /tmp
sudo apt source pulseaudio
cd /tmp/pulseaudio*
sudo ./configure
cd /usr/src/xrdp-pulseaudio-installer
sudo make PULSE_DIR="/tmp/pulseaudio-11.1"
sudo install -t "/var/lib/xrdp-pulseaudio-installer" -D -m 644 *.so
远程桌面声音设置


外网远程桌面
AnyDesk(免费)
windows
ubuntu18
sudo apt update
sudo apt -y upgrade
wget -qO – https://keys.anydesk.com/repos/DEB-GPG-KEY | sudo apt-key add –
echo “deb http://deb.anydesk.com/ all main” | sudo tee /etc/apt/sources.list.d/anydesk-stable.list
sudo apt update
sudo apt install anydesk
anydesk
sudo anydesk-global-settings #进行设置选项配置,建议设置自主访问密码
使用tweaks进行管理anydesk开机自启动
TeamViewer
<code class="prism language-bash has-numbering"><span class="token function">sudo</span> <span class="token function">apt-get</span> <span class="token function">install</span> teamviewer   <span class="token comment">#安装</span>
 teamviewer <span class="token comment">#启动</span></code>
来源URL:https://blog.csdn.net/zhayushui/article/details/102859475